
DIY face masks have become increasingly popular as more people recognize the benefits of natural skincare solutions. Using simple ingredients straight from your kitchen not only saves money but also gives you complete control over what goes on your skin. Today, we’ll explore seven incredible DIY face masks you can make right now with ingredients you probably already have in your pantry.
Why Make Your Own DIY Face Masks?
Store-bought face masks often contain preservatives, fragrances, and chemicals that may irritate sensitive skin. Meanwhile, homemade alternatives offer several compelling advantages:
- Cost-effective: A fraction of the price of commercial products
- All-natural: No artificial preservatives or harsh chemicals
- Customizable: Easily adjusted to suit your specific skin needs
- Environmentally friendly: Minimal packaging waste
- Fresh ingredients: Maximum potency and effectiveness
According to a study published in the Journal of Cosmetic Science, many kitchen ingredients contain powerful antioxidants and nutrients that benefit the skin when applied topically.
Essential Tips Before Creating DIY Face Masks

Before diving into our kitchen-based skincare creations, keep these important guidelines in mind:
- Patch test first: Apply a small amount on your inner wrist and wait 24 hours to check for any adverse reactions.
- Use fresh ingredients: The fresher your ingredients, the more effective your mask will be.
- Clean your face: Always start with a clean face before applying any mask.
- Follow recommended times: Don’t leave masks on longer than suggested to avoid irritation.
- Moisturize after: Always apply a moisturizer after rinsing off your mask.
Now, let’s get mixing!
7 Powerful DIY Face Masks Using Kitchen Ingredients
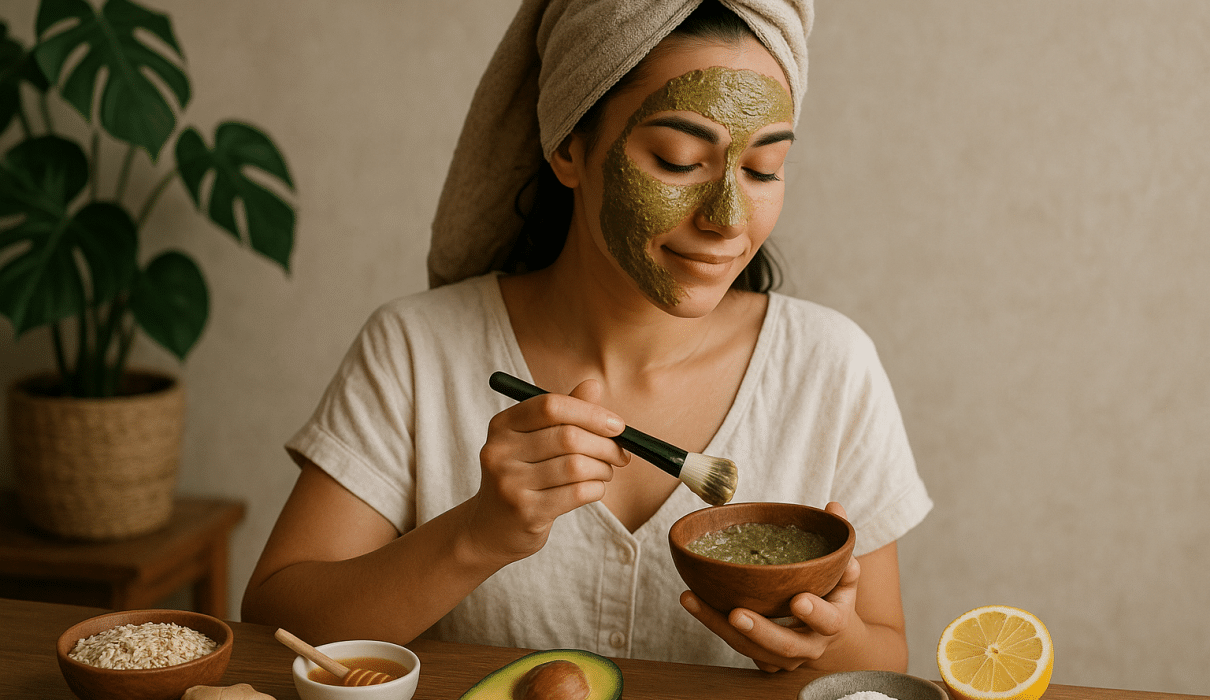
1. Honey & Oatmeal Calming Mask
Show Image
Perfect for: Sensitive or irritated skin
Ingredients:
- 2 tablespoons ground oats (pulse regular oatmeal in a blender)
- 1 tablespoon raw honey
- 1 teaspoon warm water
Benefits: Oatmeal is renowned for its anti-inflammatory properties, making it perfect for calming redness and irritation. Honey works as a natural humectant, drawing moisture into the skin while providing antibacterial benefits.
How to apply: Mix ingredients to form a paste. Apply to clean skin and leave for 15-20 minutes before rinsing with lukewarm water.
2. Avocado & Yogurt Hydrating Mask
Perfect for: Dry or dehydrated skin
Ingredients:
- ½ ripe avocado, mashed
- 1 tablespoon plain Greek yogurt
- 1 teaspoon olive oil
Benefits: Avocados contain healthy fats that deeply moisturize skin, while yogurt provides gentle exfoliation through lactic acid. The combination delivers intense hydration while improving skin texture.
How to apply: Blend all ingredients into a smooth consistency. Apply a thick layer to clean skin and leave for 15-20 minutes. Rinse thoroughly with warm water.
3. Turmeric & Milk Brightening Mask
Perfect for: Dull skin or uneven skin tone
Ingredients:
- 1 teaspoon turmeric powder
- 2 tablespoons milk or yogurt
- 1 teaspoon honey
Benefits: Turmeric contains curcumin, a powerful anti-inflammatory and antioxidant that helps brighten skin and reduce hyperpigmentation. Milk contains lactic acid that gently exfoliates.
How to apply: Mix ingredients into a thin paste. Apply to clean skin, avoiding the eye area (turmeric can stain). Leave on for 10-15 minutes, then rinse thoroughly. Note: This mask may temporarily give fair skin a slight yellow tint that washes away.
4. Banana & Honey Rejuvenating Mask
Perfect for: Aging or dull skin
Ingredients:
- ½ ripe banana, mashed
- 1 tablespoon honey
- A few drops of lemon juice
Benefits: Bananas contain vitamins A, B, and E along with potassium, making them excellent for maintaining skin elasticity. Combined with honey’s moisturizing properties and lemon’s natural acids, this mask brightens and rejuvenates tired skin.
How to apply: Mash ingredients together until smooth. Apply to clean skin and leave for 15-20 minutes before rinsing.
5. Coffee & Cocoa Energizing Mask
Perfect for: Puffy skin or cellulite reduction
Ingredients:
- 2 tablespoons fresh coffee grounds
- 2 tablespoons cocoa powder
- 1 tablespoon honey
- 2 tablespoons yogurt
Benefits: Coffee is rich in caffeine and antioxidants that help reduce inflammation and puffiness while improving circulation. Cocoa contains theobromine, which helps firm skin and protect against sun damage.
How to apply: Mix all ingredients to form a paste. Apply to clean skin, gently massaging in circular motions. Leave for 15-20 minutes before rinsing. This mask can also be used on the body for cellulite reduction.
6. Cucumber & Aloe Vera Cooling Mask
Perfect for: Sunburned or irritated skin
Ingredients:
- ¼ cucumber, pureed
- 2 tablespoons aloe vera gel (fresh from plant is best)
- 1 tablespoon rose water (optional)
Benefits: Cucumber has cooling properties that help reduce redness and inflammation. Aloe vera accelerates healing and provides deep hydration while soothing irritated skin.
How to apply: Blend ingredients until smooth. Apply to clean skin and leave for 20 minutes. Store any leftovers in the refrigerator for up to 3 days.
7. Egg White & Lemon Pore-Tightening Mask
Perfect for: Oily or acne-prone skin
Ingredients:
- 1 egg white
- 1 teaspoon lemon juice
- ½ teaspoon honey
Benefits: Egg whites temporarily tighten skin and reduce the appearance of pores. Lemon juice helps control oil production while providing natural acids that brighten skin. Honey balances the formula with antibacterial properties.
How to apply: Whisk ingredients together until frothy. Apply a thin layer to clean skin and allow to dry completely (about 15-20 minutes). Rinse thoroughly with warm water followed by cool water.
When to Use Different DIY Face Masks
For optimal results, consider your skin’s current needs:
- Morning masks: Energizing masks (like Coffee & Cocoa) work well in the morning to reduce puffiness and awaken skin.
- Evening masks: Hydrating masks (like Avocado & Yogurt) are perfect before bed, allowing nutrients to absorb overnight.
- Seasonal use: Cooling masks in summer, hydrating masks in winter.
- Frequency: Limit masks to 1-2 times per week to avoid over-exfoliating or irritating skin.
Storing Your DIY Face Masks
Unlike commercial products, homemade face masks lack preservatives, making proper storage crucial:
- Fresh is best: Ideally, make single-use portions and use immediately.
- Refrigeration: Store leftovers in an airtight container in the refrigerator.
- Shelf life: Most masks will keep for 3-5 days refrigerated.
- Spoilage signs: If you notice any change in color, texture, or smell, discard immediately.
As noted by Dr. Aanand Geria, a dermatologist with Geria Dermatology, “While fresh masks deliver the most potent nutrients, refrigerated masks can actually feel more soothing on application.”
FAQs About DIY Face Masks
Are homemade face masks as effective as store-bought ones?
Homemade masks can be very effective for basic skin concerns. They’re excellent for hydration, gentle exfoliation, and brightening. However, for specific skin conditions or targeted treatments, professionally formulated products may contain active ingredients at higher concentrations than what’s available in your kitchen.
How often should I use DIY face masks?
Most skin types benefit from 1-2 masks per week. Over-masking can disrupt your skin’s natural barrier and lead to irritation. Listen to your skin and adjust frequency accordingly.
Can I use these masks if I have sensitive skin?
Yes, but with caution. Start with gentle ingredients like oatmeal and honey. Always patch test first and avoid ingredients you know cause reactions. The Honey & Oatmeal mask is usually well-tolerated by sensitive skin.
How long do homemade face masks last?
Without preservatives, homemade masks typically last 3-5 days in the refrigerator. For best results, make small batches and use them fresh whenever possible.
Can I customize these masks for my skin type?
Absolutely! That’s one of the biggest advantages of DIY masks. For oily skin, add a drop of tea tree oil. For extra hydration, add a few drops of jojoba or rosehip oil. Experiment to find what works best for your unique skin.
Embrace the Natural Beauty of DIY Skincare
Creating your own DIY face masks from kitchen ingredients isn’t just economical and fun—it’s a wonderful way to connect with the age-old tradition of natural skincare. By understanding which ingredients benefit different skin concerns, you can create a customized skincare routine that evolves with your skin’s changing needs.
Remember that consistency is key in skincare. While masks provide intensive treatment, they work best as part of a holistic routine that includes proper cleansing, toning, moisturizing, and sun protection.
Ready to try more eco-friendly beauty solutions? Follow us on Instagram and TikTok for daily tips and tricks. Check out our website at EcoChicGlam.com for more sustainable beauty recipes, product recommendations, and expert advice!
What’s your favorite kitchen ingredient for skincare? Share your experiences in the comments below!
Disclaimer: While these DIY face masks use natural ingredients, allergic reactions can still occur. Always patch test new ingredients before applying them to your face. If you have existing skin conditions, consult with a dermatologist before trying new skincare recipes.Retry